Overview
This article will walk you through the creation of a journaling mailbox for Microsoft Exchange Server 2007 or later using the post-install wizard.
Process
To create the journaling mailbox via the post-install wizard, follow the steps listed below:
-
In the Configuration Wizard that opens after creating the Archive Store Profile, click Next.
-
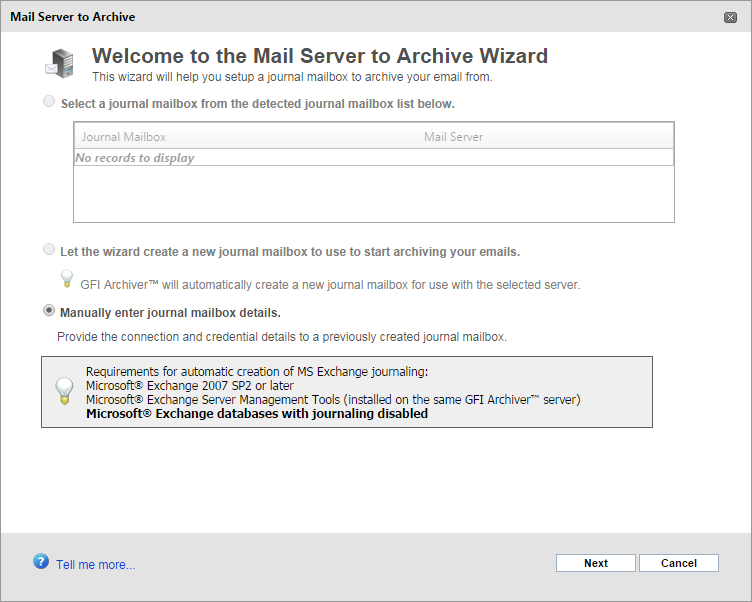
From the Mail Server to Archive Wizard page, select Let the wizard create a new journal mailbox to use to start archiving your emails. Select this option to create a new journaling mailbox utilizing the wizard automatically. The new journaling mailbox will be built on the selected Microsoft® Exchange Server from the list of detected servers.
NOTE
This feature works only with Microsoft® Exchange Server 2007 Service Pack 2 onwards.
-
Select Let the wizard create a new journal mailbox to use to start archiving your emails and click Next.
-
When prompted, key in the required details for the journaling mailbox. Available options are:
-
Click Next.
-
Provide the required Administrative credentials to complete the setup.
-
- Click Finish to finalize the setup.
Priyanka Bhotika
Comments